This blog provides a walkthrough of the ORCID OAuth process, which is the mechanism by which researchers can connect/link their ORCID iD with a trusted organization via the ORCID API (application programming interface). All ORCID API integrations (vendor systems and custom integrations) start with this connection process, which is the best practice for ensuring the correct ORCID iD is associated with the correct individual within an organizational system or software platform (as opposed to searching for ORCID iDs and/or manually entering ORCID iDs, which leaves room for error). Once a researcher connects their ORCID iD with a system/platform via the ORCID OAuth process, additional API calls can be used to read data from and/or write data to the researcher’s ORCID record. For more information about how the ORCID API works with different systems, see our list of common systems with ORCID integration status and our custom integration guide. For a live demo of this process, see the ORCID “Create on Demand” demo.
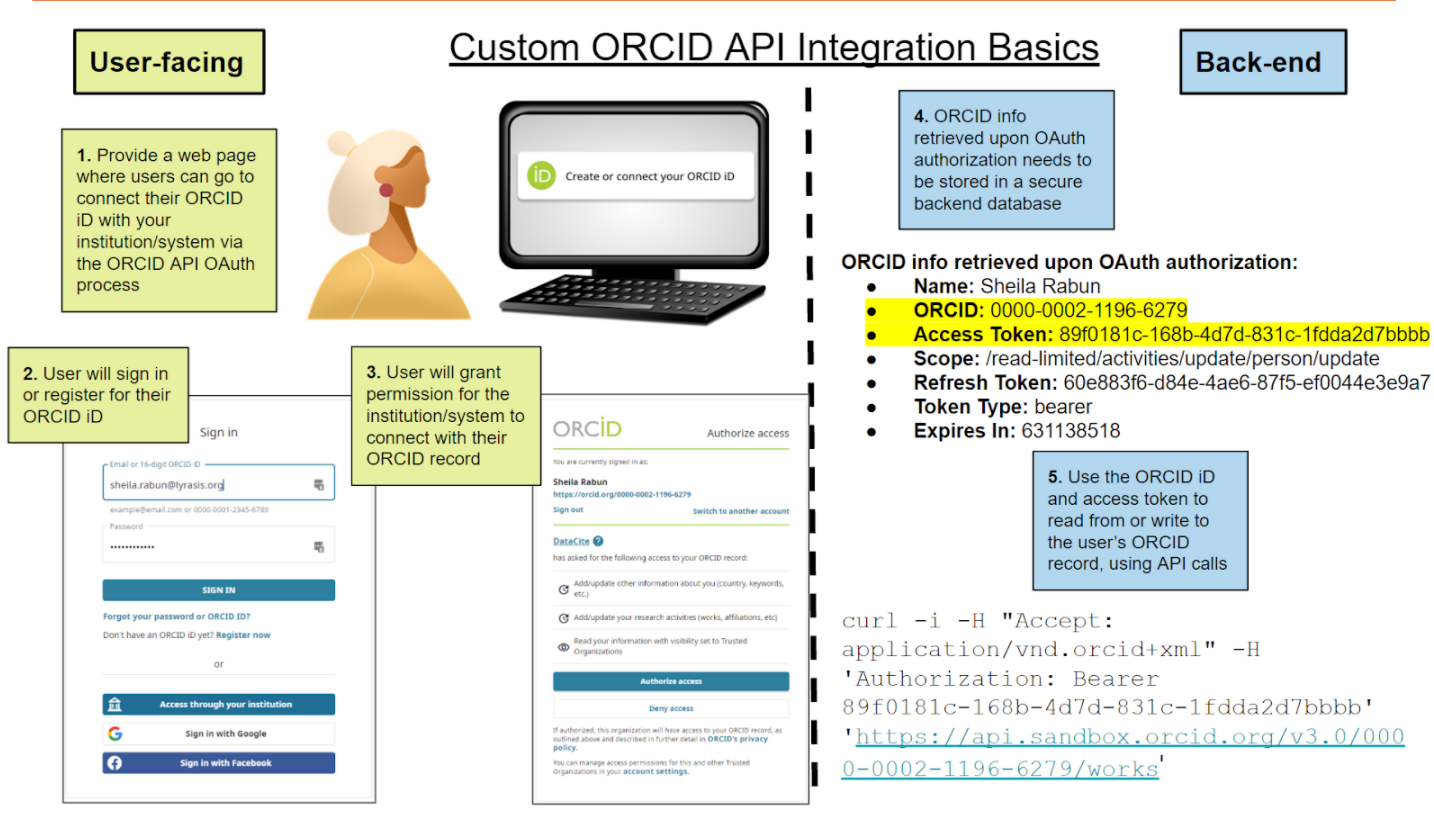
Step 1: The institution/platform creates a user-facing webpage or “ORCID connection portal” that contains information about ORCID and prompts researchers to connect their ORCID iD with the institution/platform using an ORCID-branded “Create/Connect ORCID iD” button. Behind the button is an ORCID authorization URL specific to each system/platform integration. The ORCID authorization URL contains a Client ID, scopes (aka permissions), and a redirect URI for the integration:
- Client ID - a unique ID assigned to an integration by ORCID (Example: APP-NPXKK6HFN6TJ4YYI).
- Scopes - permissions that the researcher will need to approve, based on how the system/platform wants to interact with the researcher’s ORCID record. Learn more about ORCID scopes.
- Redirect URI - the webpage that the researcher will be redirected to after completing the OAuth process.
Example authorization URL: https://orcid.org/oauth/authorize?client_id=APP-NPXKK6HFN6TJYYI4&response_type=code&scope=/read-limited/activities/update&redirect_uri=https://orcidus.lyrasis.org
Example ORCID connection portal: University of Arizona’s ORCID portal webpage with “Create/Connect” button:
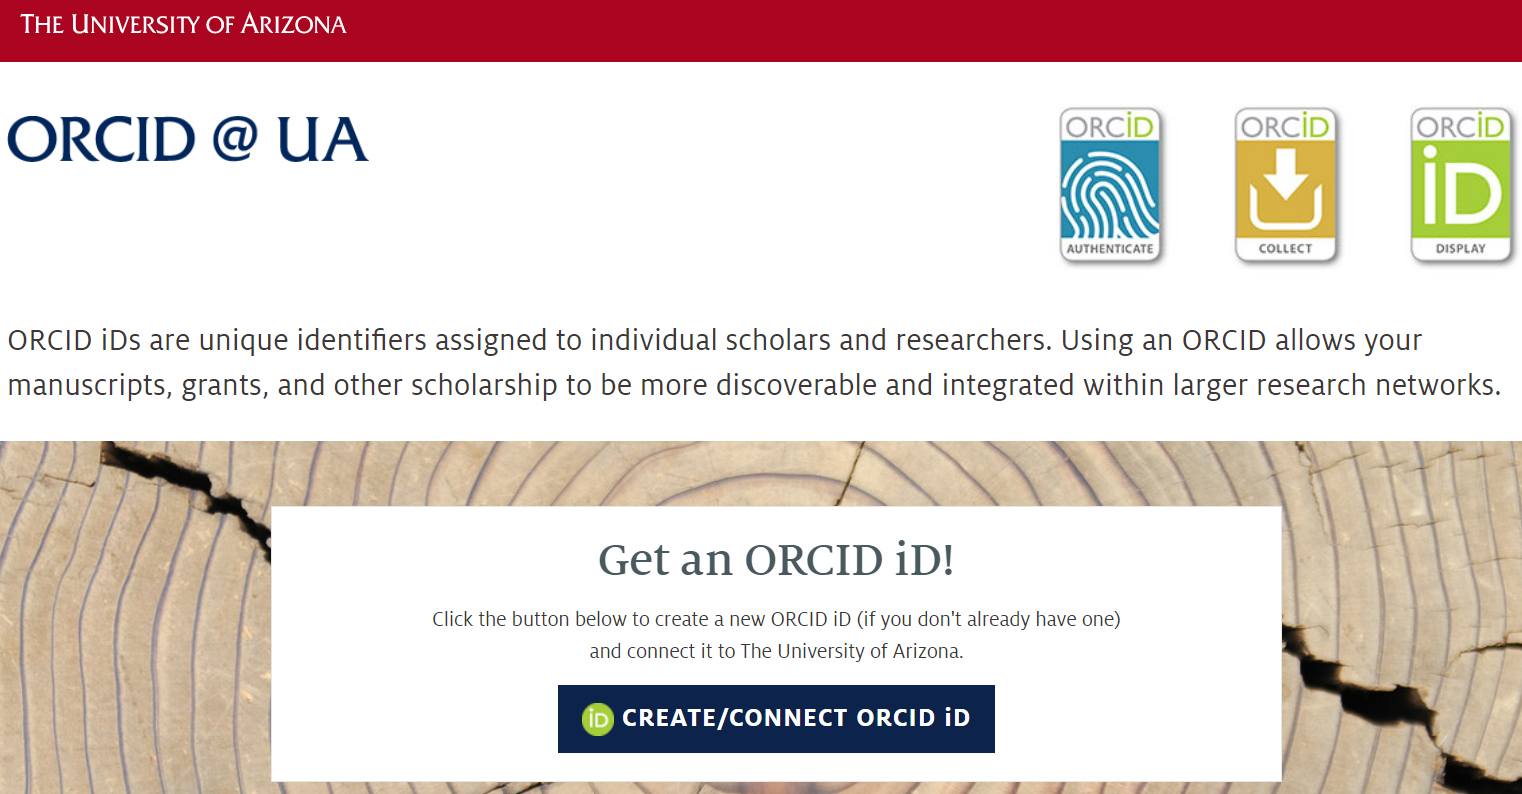
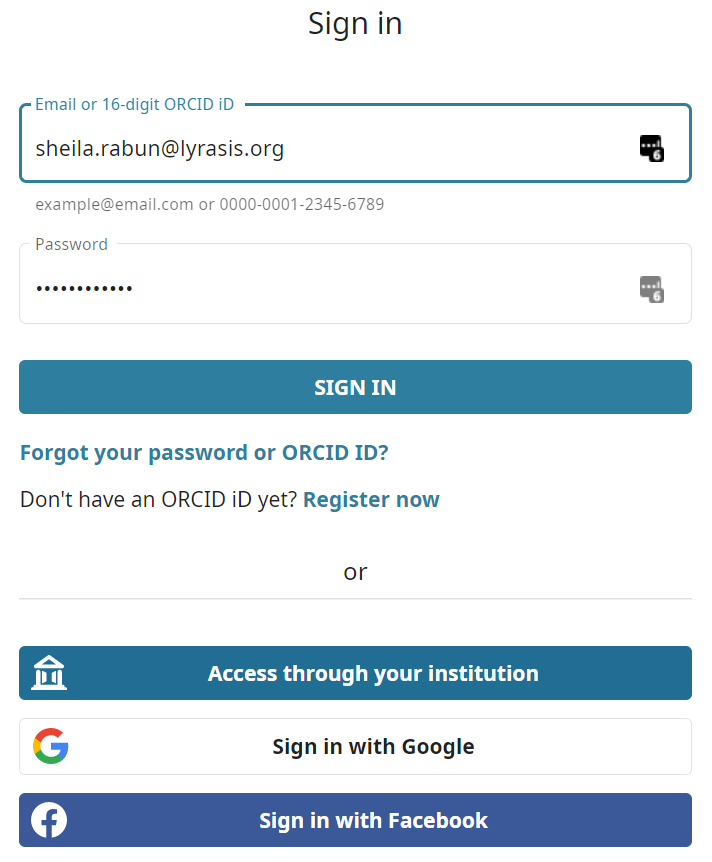
Step 2: When the researcher navigates to the ORCID connection portal and clicks the button to “Create/Connect” their ORCID iD, they will be launched into the ORCID OAuth process: a screen will pop up, prompting the researcher to either enter their ORCID login credentials if they already have an ORCID iD, or they can “Register” for an ORCID iD right then and there if they do not already have one.
If the researcher already has an ORCID iD, they will sign in to ORCID:
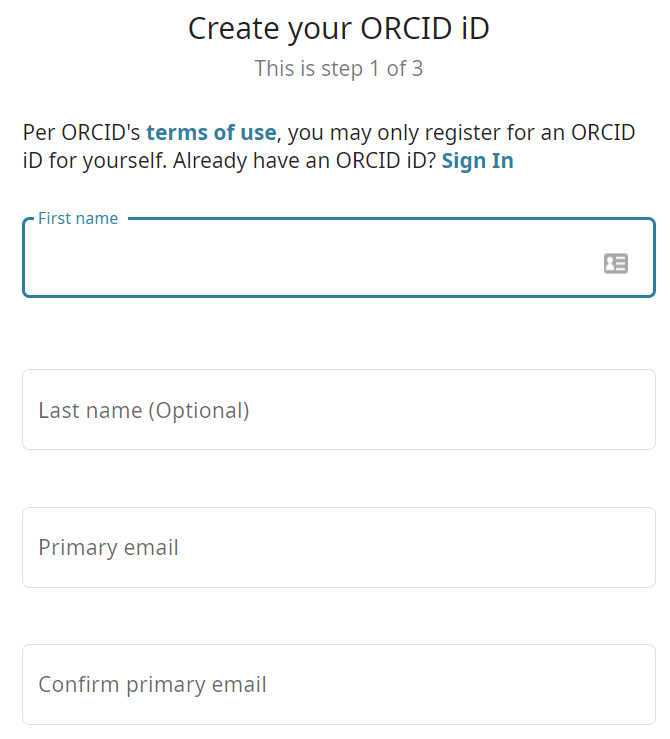
If the researcher does not have an ORCID iD yet, they will Register for an ORCID iD by filling out the required information on the registration screen:
Step 3: An authorization screen will appear that confirms the researcher’s name and ORCID iD, and specifies that the organization or platform is asking for permission to connect with the researcher’s ORCID record (permissions listed will vary depending on the scopes that were used in the authorization URL - see Step 1 above).
Example authorization screen: Université 123 is asking the researcher for permission to get their authenticated ORCID iD number using the /authenticate scope, which also includes permission to read any data from the researcher’s ORCID record that is set to public visibility. Additional scopes could be used to also ask for permission to read data from ORCID records that has visibility set to “trusted parties only” (using the /read-limited scope), writing data to ORCID (using the /person-update and/or /activities-update scopes), and synching data between ORCID and the institution/platform (using the /webhooks scope).
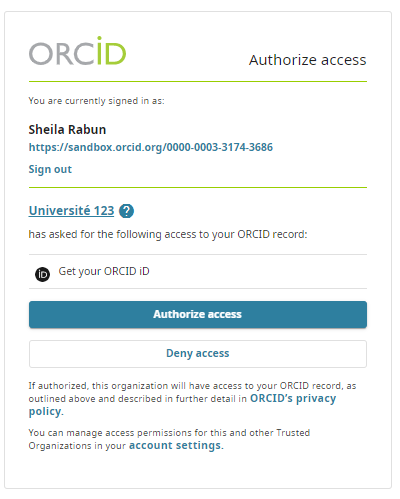
Step 4: When the researcher clicks “authorize,” they will be redirected to a landing page that confirms that they have connected their ORCID iD with the organization/platform, and that is typically all they have to do.
Example redirect landing page: Emory University’s webpage where researchers are redirected after completing the ORCID OAuth process:
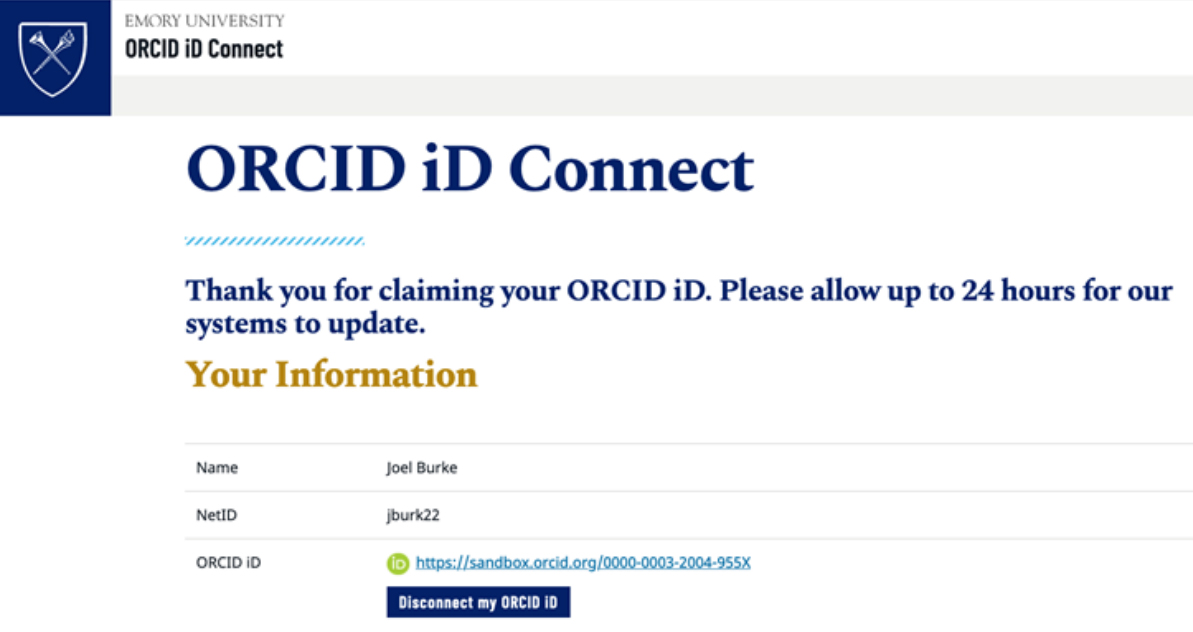
Meanwhile, the backend of the application will receive a handful of data from ORCID via API that will need to be stored securely in a backend database.
Example data returned upon completion of OAuth process:
- access_token: 89f0181c-168b-4d7d-831c-1fdda2d7bbbb
- token_type: bearer
- refresh_token: 60e883f6-d84e-4ae6-87f5-ef0044e3e9a7
- expires_in: 631138518
- scope: /read-limited/activities/update
- orcid: 0000-0002-1196-6279
- name: Sheila Rabun
The “orcid” and “access_token” can subsequently be used to interact with the researcher’s ORCID record.
If the researcher clicks “deny” on the authorization screen, they should be redirected to a page prompting them to reconsider and make the connection.
Example “deny” response page: Boston College webpage that researchers are redirected to if they click “deny” on the ORCID authorization screen:
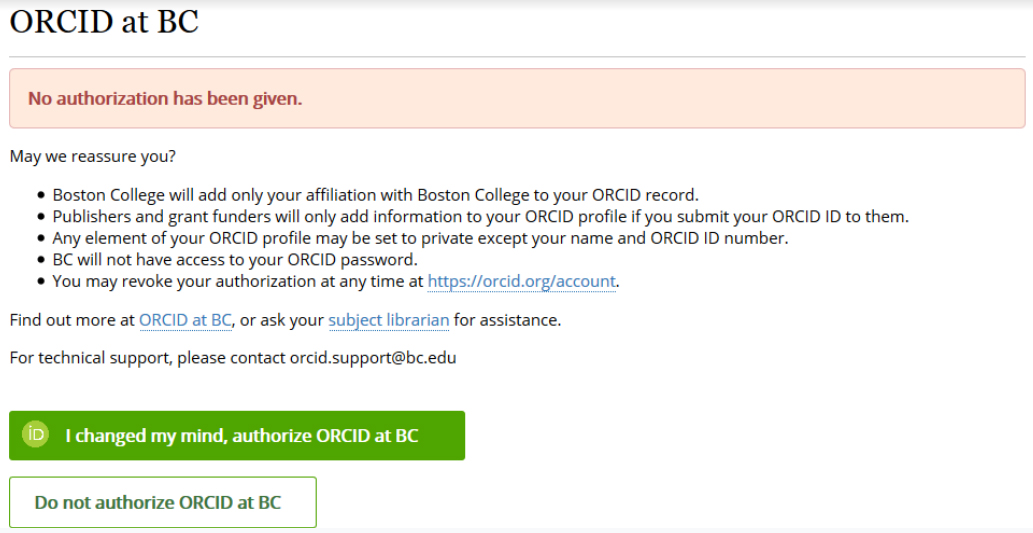
Once the connection has been authorized by the researcher, the institution/platform will be listed as a “Trusted Organization” in the Account Settings tab of the researcher’s ORCID record.
Example Trusted Organizations list:
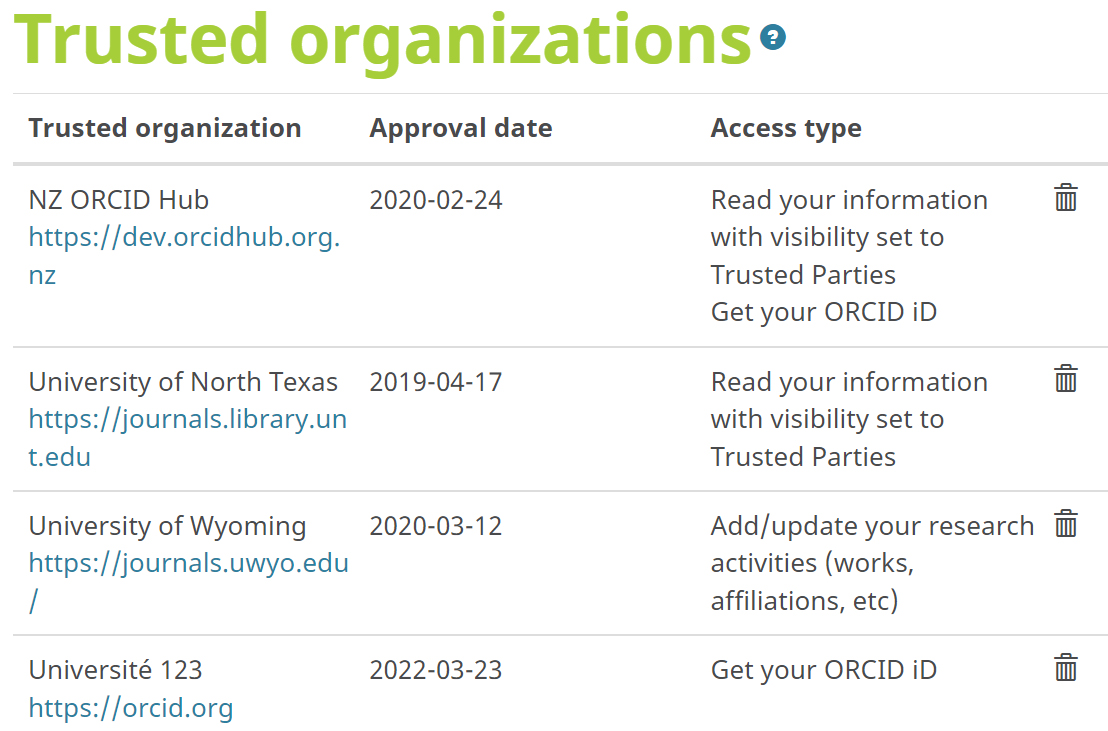
Step 5: Once the researcher completes the OAuth process and clicks “authorize,” the system/application can:
-
- Display the researcher’s authenticated ORCID iD anywhere that makes sense, for example: on the researcher’s public profile/directory page, next to the researcher’s name in an institutional repository, or anywhere else where the researcher’s name is displayed.
-
-
- Example: Boston College displays authenticated ORCID iDs on faculty profile pages:
-

-
- Read data from the researcher’s ORCID record using the researcher’s authenticated ORCID iD and access token.
-
-
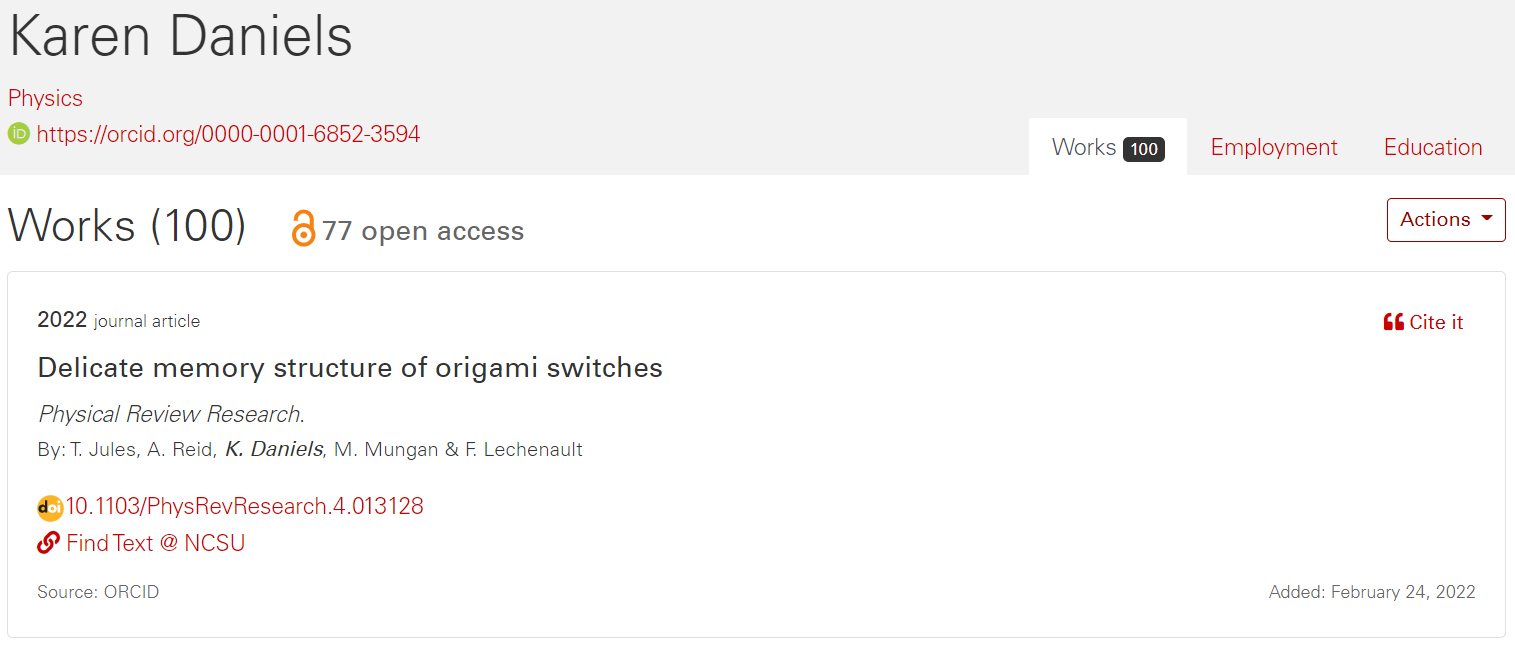
- Example: North Carolina State University pulls ORCID works into the library’s Citation Index:
-
-
- Write data to the researcher’s ORCID record using the researcher’s authenticated ORCID iD and access token.
-
-
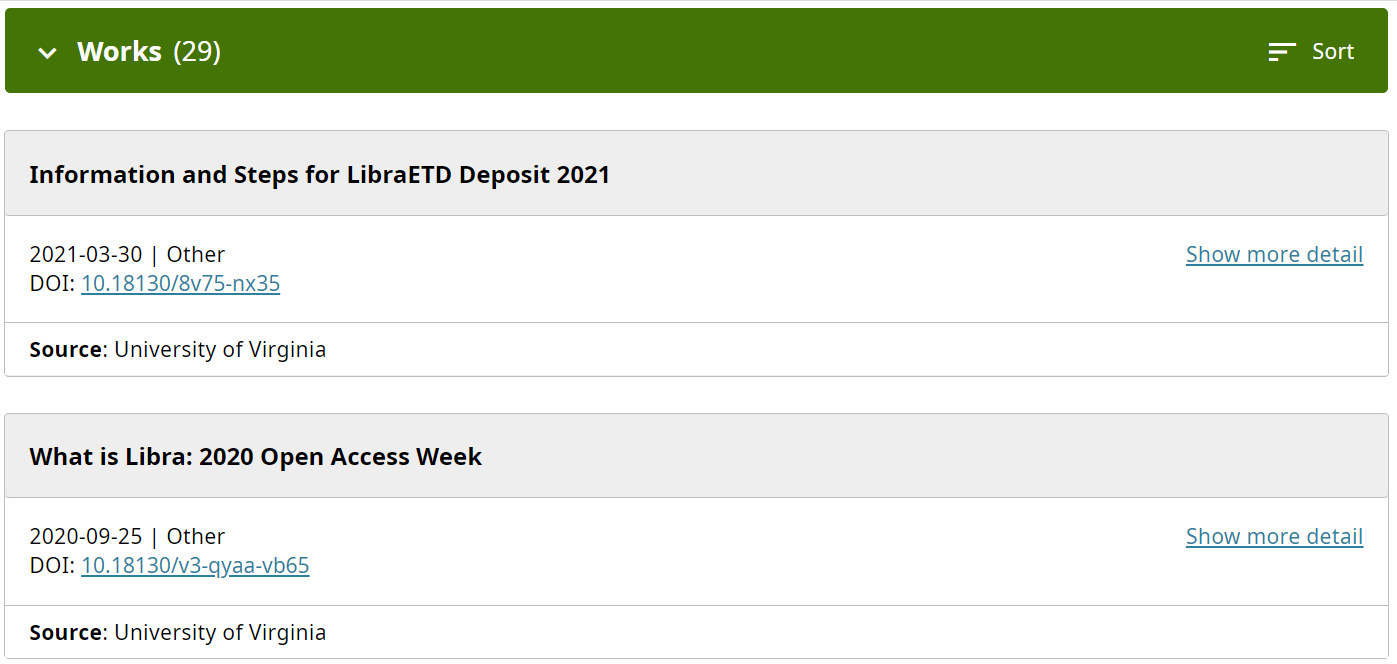
- Example: University of Virginia writes works from their institutional repository to researchers’ ORCID records:
-
- Sync data between the researcher’s ORCID record and the application using webhooks notifications.
It is also possible to customize the OAuth experience for your researchers in a custom API integration. If you have any questions about this documentation or the ORCID OAuth process in general, please contact orcidus@lyrasis.org.
